
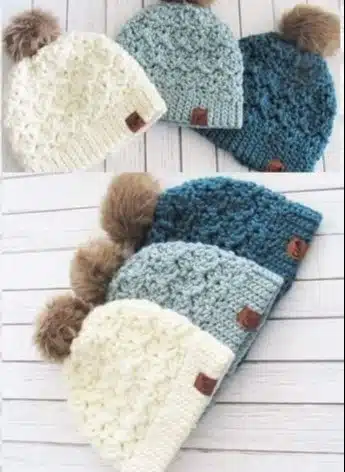
Cozy and Stylish Crochet Chunky Beanie
Introduction
If you’re looking to create a fashionable and warm accessory this season, a cozy crochet chunky beanie is the perfect project for you. This DIY crochet hat project is suitable for beginners, allowing you to practice your skills while crafting a stylish hat.
Materials List
- Chunky yarn: 1 skein
- Crochet hook: 6.5 mm (K hook)
- Scissors
- Yarn needle
- Measuring tape
Instructions
- Start by measuring your head circumference. This will help you determine how many chains to start with for your beanie.
- Make a slip knot and chain until you have a length that matches your desired circumference. Typically, this will be around 60-70 chains, depending on your yarn’s thickness and your tension.
- Join the chain with a slip stitch to form a ring, making sure not to twist it.
- Chain 2 (this counts as the first double crochet), then double crochet into each chain around.
- When you reach the end of the round, join with a slip stitch into the top of the first double crochet.
- Repeat the double crochet round until your beanie reaches the desired height. Usually, this takes about 8-10 rounds.
- Once you have reached the desired height, it’s time to decrease. To do this, crochet two together around the entire hat, which helps shape the top of the beanie.
- After the decrease round, you may need to cut the yarn, leaving a long tail for sewing.
- Thread the yarn needle with the tail and weave it through the remaining stitches to close the top of the beanie.
- Finally, weave in any loose ends and enjoy your cozy, stylish crochet chunky beanie!